
See the most common Braai's below to see if EspetoSul Rotisserie will work with yours.
| Brand | BBQ | Size | Rotisserie | Extension | Basket | Carrousel | Notes |
| Weber | Q2000 & Q3000 | 63 x 45cm | ✓ | ✓ | ✓ | ✓ | Standard 3 Piece Kit suits 45cm length. Use the extension rod (included in 4, 5 or 6 Piece Kit) for the 63cm width. |
| Weber | Smokey Joe | 14" | ✓ | X | X | X | |
| Weber | Jumbo Joe | 18" | ✓ | X | ✓ | ✓ | |
| Weber | Smokey Mountain | 14" | ✓ | X | X | X | |
| Weber | Smokey Mountain | 18" | ✓ | X | ✓ | ✓ | |
| Weber | Smokey Mountain | 22" | ✓ | X | ✓ | ✓ | |
| Weber | Original Kettle | 18" | ✓ | X | ✓ | ✓ | |
| Weber | Original Kettle | 22" | ✓ | X | ✓ | ✓ | |
| Weber | Original Kettle | 22" | ✓ | X | ✓ | ✓ | |
| Weber | Original Kettle | 26" | ✓ | ✓ | ✓ | ✓ |
Needs extension or long central rod
|
| Weber | Master Touch | 22" | ✓ | X | ✓ | ✓ | |
| Weber | Performer | 22" | ✓ | X | ✓ | ✓ | |
| Weber | Performer Premium | 22" | ✓ | X | ✓ | ✓ | |
| Weber | Summit Kamado | 24" | ✓ | ✓ | ✓ | ✓ |
Needs extension or long central rod & 24" Rack
|
| Weber | Summit Kamado | 24" | ✓ | ✓ | ✓ | ✓ |
Needs extension or long central rod & 24" Rack
|
| Kamado Joe | Kettle Joe | 22" | ✓ | X | ✓ | ✓ | Needs 22" Rack |
| Kamado Joe | Joe Jnr | 13.5" | ✓ | X | X | X | Needs 18" Rack |
| Kamado Joe | Classic Joe Series I | 18" | ✓ | X | ✓ | ✓ | Needs 18" Rack |
| Kamado Joe | Classic Joe Series II | 18" | ✓ | X | ✓ | ✓ | Needs 18" Rack |
| Kamado Joe | Classic Joe Series III | 18" | ✓ | X | ✓ | ✓ | Needs 18" Rack |
| Kamado Joe | Classic Joe "standalone" Series II | 18" | ✓ | X | ✓ | ✓ | Needs 18" Rack |
| Kamado Joe | Classic Joe "standalone" Series III | 18" | ✓ | X | ✓ | ✓ | Needs 18" Rack |
| Kamado Joe | Big Joe "standalone" Series II | 24" | ✓ | X | ✓ | ✓ | Needs 24" Rack |
| Kamado Joe | Big Joe Series I | 24" | ✓ | ✓ | ✓ | ✓ | Needs extension or long central rod & 24" Rack |
| Kamado Joe | Big Joe Series II | 24" | ✓ | ✓ | ✓ | ✓ | Needs extension or long central rod & 24" Rack |
| Kamado Joe | Big Joe Series III | 24" | ✓ | ✓ | ✓ | ✓ | Needs extension or long central rod & 24" Rack |
| Kamado Joe | Pallet Joe | 18" | ✓ | X | ✓ | ✓ | Needs 18" Rack |
| Oklahoma Joe | Rambler | 17" x 13" | ✓ | X | X | X | |
| Oklahoma Joe | Blackjack | 21.5" | ✓ | X | ✓ | ✓ | |
| Oklahoma Joe | Bronco | 18" | ✓ | X | ✓ | ✓ | |
| Oklahoma Joe | Bronco Pro | 21.5" | ✓ | X | ✓ | ✓ |
Is your Braai model not included in the above list? Please contact us if you would like to confirm compatibility
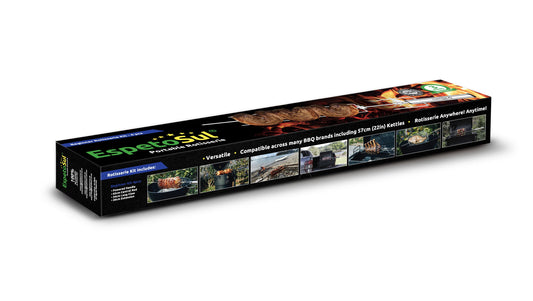
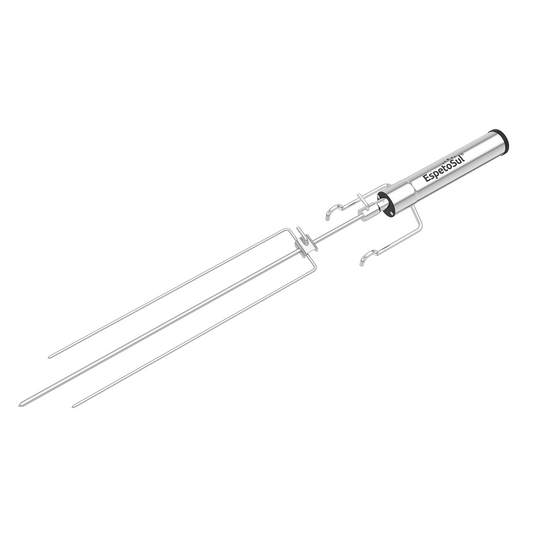
Beginners 4pcs Set Box
Regular price
R 2,270.00 ZAR
Regular price
Sale price
R 2,270.00 ZAR
Unit price
per
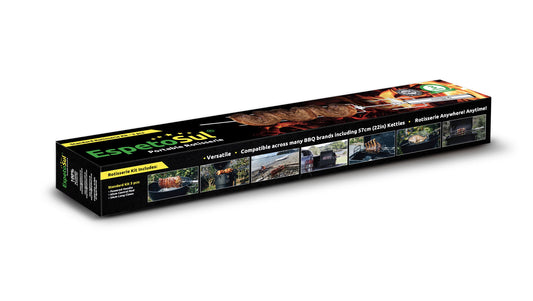
Standard 3pcs Set Box
Regular price
R 1,800.00 ZAR
Regular price
R 2,050.00 ZAR
Sale price
R 1,800.00 ZAR
Unit price
per
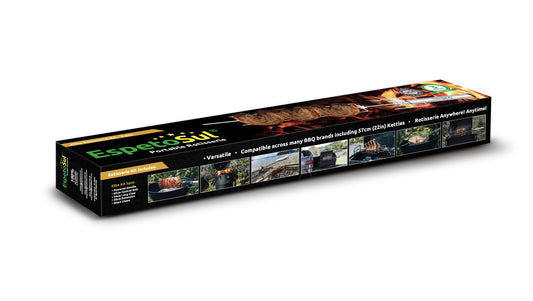
Elite 5pcs Set Box
Regular price
R 2,420.00 ZAR
Regular price
Sale price
R 2,420.00 ZAR
Unit price
per
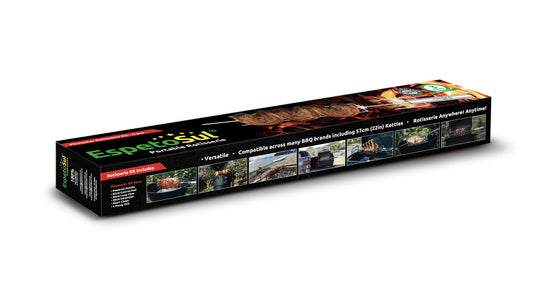
Pitmaster 6pcs Set Box
Regular price
R 2,960.00 ZAR
Regular price
Sale price
R 2,960.00 ZAR
Unit price
per